Raise your hand if you have been bitten by the Pinterest bug? About a month ago, I wanted to see why everyone was SO "Pinterested" in it...and would you know, joining is by invitation only!! What a snobbish website, was my first thought ....and then I was getting upset because it took FOREVER to finally get my invitation. But once I logged on - I've been totally in love!
I've come across a zillion neat ideas, but today for some reason, I was moved to try the DIY No-Sew Scarf. The tutorial I'm going to give today is just one of the many styles you can make. Check out this neat blogger and all the ways she makes hers at The DIY Dish.
I was really surprised at how easy and virtually cost-free this project was. All you need is a t-shirt and some scissors - yes, that's it! You don't have to run out and buy a new shirt either. It can be an old shirt, maybe one with a stain on it that you only wear when you're slumming around the house. Or you could even pick up a shirt at Goodwill or any other thrift store for less than $1.
So here we go:
Pick out a solid color or pattern that you like. It's best to use a shirt that's XL or 2X, depending on how much length you want. For children - using a shirt that's the same size as what they generally wear is perfect.
Next cut off the hem at the bottom of the shirt. You don't have to worry about making a perfectly straight line or if it's jagged - the fabric will curl up later in the process.
Now cut the shirt right at the armpit area. Once again, do not worry about making perfect cuts.
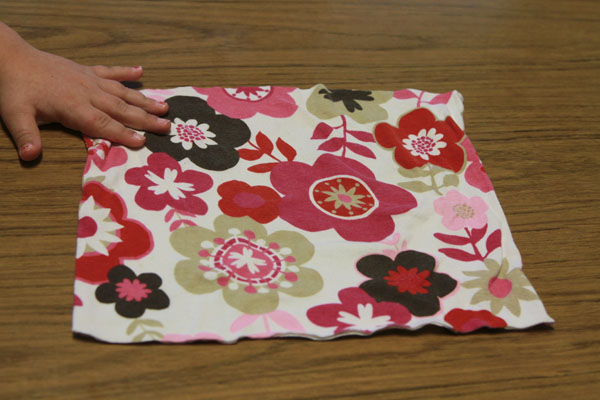
Now you will have a square band of fabric. Have your trusty assistant stretch the t-shirt material for you like this!
Next you will cut strips on each side of the fabric like this. The cuts don't have to be uniform - this is really a no-brainer.
After you have cut strips on both sides, take each strip and pull on it so that the fabric pieces will curl up.
And voila! You have a funky and unique scarf to add to your wardrobe this winter (or any season).
Had I known how to make these things before Christmas, I would have made one for every person I know. Oh well, maybe next year!
Here's the one I made this morning.
Since my shirt was bigger than a 2X it was a little longer, so I used some of the excess t-shirt material that I cut off to tie the scarf in the middle. All I did was tie it in a bow.
Now was that easy or what? T-shirts will no longer be safe in my house! Happy cutting!






I'm so glad you're back! Addyson did a great job modeling for you! I'm definitely going to make me a scarf. :)
ReplyDelete